
Paper fidget clicker templates and how to make one
A paper fidget clicker is a small keychain toy with soft keys you press again and again. Pick a free template below, customize the colours and faces, print it on A4, then cut, fold, glue and stuff it. Each template has a case with key windows, keys, feet and paper springs. It takes about 45 minutes.
Honest note about the sound. A paper clicker gives a soft tap and a squishy press, not the sharp click of a mechanical keyboard switch. If you want a loud click, you need a real switch in a 3D-printed body. Paper is for the squishy feel.
Free paper fidget clicker templates
Download a ready-made PDF, or press Customize to design your own in the maker first: pick a colour, a pattern, a face and stickers for every key and the case.
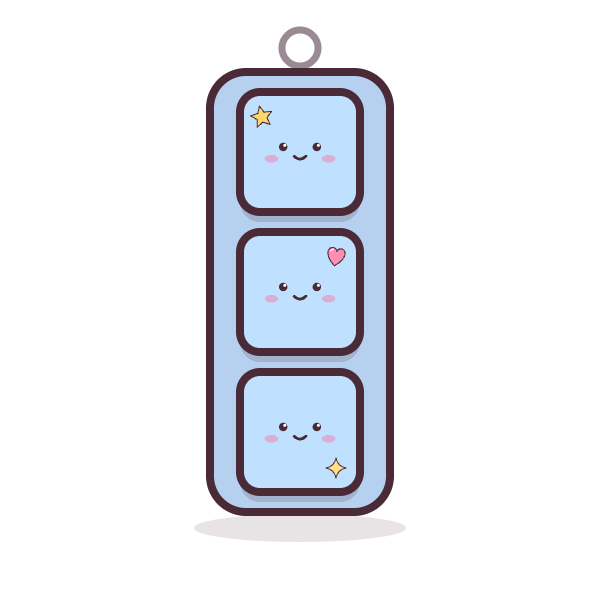 Clicker chain
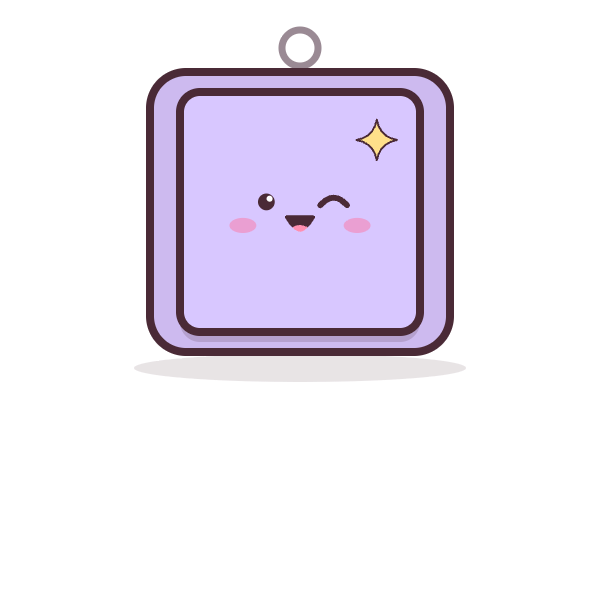 Button fidget
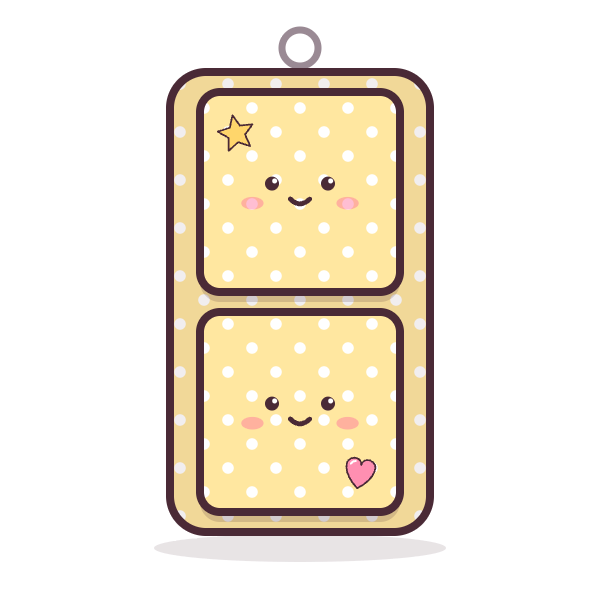 Cheese clicker
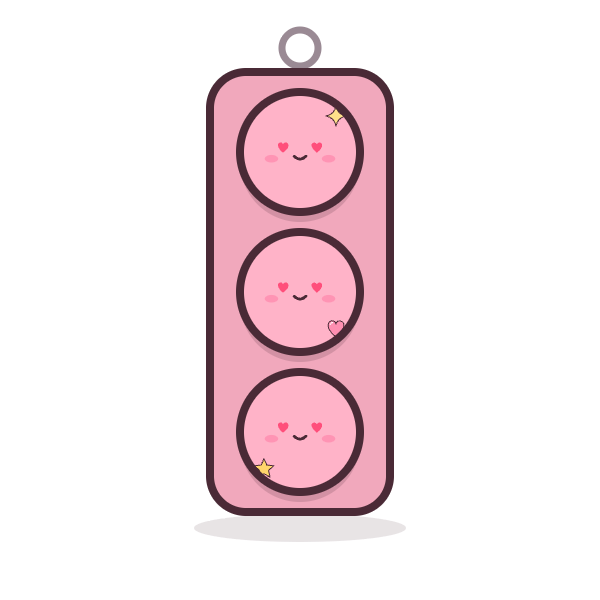 Mochi clicker
What you need
- A printer and A4 paper (cardstock for the case if your printer takes it)
- Scissors and a ruler
- Glue stick or double-sided tape
- Cotton wool or soft stuffing
- A hole punch
- A ball chain or key ring
How to make a paper fidget clicker
- Print a template. Pick a template above, customize it if you like, and print the PDF on A4 at 100% scale ("actual size", not "fit to page").
- Cut everything out. Cut out the case, the keys, the feet and the springs along the solid lines. Cut out the windows in the front of the case too, and ask a grown-up for help with the scissors. Punch the chain hole.
- Fold the springs. Fold each spring strip back and forth along its dashed lines, like an accordion. Then let each fold open a little, so the spring is about 1 cm tall and pushes back when you press it.
- Build the keys. Crease the dashed lines against a ruler, fold each key into a small box and glue its tabs. Fill it lightly with small pieces of cotton wool before you close the last side.
- Add a foot and a spring. Glue a foot to the bottom of each key, then glue one end of a spring to the middle of the foot. The foot is wider than the window, so the key can press down but never falls out.
- Fold the case. Crease the dashed lines, fold the case into a box and glue the side tabs, but leave the bottom end open.
- Fit the keys. Push each key through its window from the inside, then glue the loose end of each spring to the inside back of the case. Close the bottom end.
- Add the chain. Thread the ball chain through the hole at the top. Press each key: it should stick out about 8 mm and spring back.
New to paper crafts? Start with the Button fidget, which has just one key. If you have never made a paper squishy, read how to make a paper squishy first.
How to make a mochi clicker
Use the Mochi clicker template. Only the keys are different:
- Print the Mochi clicker. It has round keys instead of square ones. Cut out everything and make the case, feet and springs as in steps 2 to 8 above.
- Build a round key. Fold the long strip into a ring and glue its end tab. Glue one disc on one side of the ring, stuff it lightly with cotton wool, then glue the second disc on the other side. The face is already printed on the top disc.
- Mount it. Glue a round foot under each key, then a spring, and fit the keys into the case as before.
Bonus: a balloon mochi squishy
For a super soft mochi to squeeze (a separate toy, not part of the case), try the balloon method many craft sites teach, for example Craftsy Hacks:
- Cut the balloon. Snip off the narrow neck of a balloon.
- Stuff it. Pull the stuffing into small fluffy pieces and push it in a little at a time until the balloon is plump and round. For a smoother mochi, slip it inside a second balloon that has also had its neck cut off.
- Seal it. Fold the open edges inward and wrap them with clear tape so the stuffing stays in.
- Draw a face. Use a black pen for the eyes and mouth and a pink pen for the cheeks. Let the ink dry.
Fix common problems
- The key will not press. The window is too tight or the foot is rubbing the case. Trim the window a little bigger.
- The key falls out. The foot has come off or is too small. Glue a foot that is wider than the window.
- The key does not bounce back. The spring is too soft or too flat. Use stiffer cardstock, or open the folds a bit more.
- It does not click, it just taps. That is normal for paper. See the note about sound above.
- The keys look lumpy. They are overstuffed or stuffed in big clumps. Use smaller, fluffier pieces.
Want a louder click?
Real clickers use a keyboard switch inside a 3D-printed body. Free tools such as the PrintPal Fidget Clicker Maker add a switch cavity to any 3D model. Paper stays the best choice if you do not have a printer or want something kids can make alone.
See it made
Video tutorials that inspired these templates: the paper clicker chain by Lini Trinh and a paper fidget clicker tutorial by Tinyme. Our templates and steps are our own simple version.
Questions
How do you make a fidget clicker out of paper?
Print a paper clicker template, cut out the case, keys, feet and springs, fold the springs like an accordion, stuff and glue the keys, and fit them into the case through the windows. Add a ball chain and you have a keychain clicker. It takes about 45 minutes.
Does a paper fidget clicker really click?
Not like a mechanical keyboard switch. A paper spring gives a soft, satisfying tap and a squishy press, not a sharp click. For a loud click you need a real switch inside a 3D-printed body.
Is there a free paper fidget clicker template?
Yes. This page has four free printable templates: a clicker chain, a button fidget, a cheese clicker and a mochi clicker. You can change the colours, patterns, faces and stickers in the maker before you print.
What is a mochi fidget clicker?
It is a clicker with soft, round mochi-style keys. The Mochi clicker template has round paper keys you stuff with cotton wool, and you can make a balloon mochi squishy as a separate toy.
Is a mochi squishy made from rice?
No. Real mochi is a Japanese rice cake you can eat. A mochi squishy is a toy: a balloon or paper shape filled with soft stuffing and decorated with a face. Do not eat it.
How long does it take?
About 45 minutes for a three-key clicker, 20 minutes for the one-key Button fidget, plus glue drying time.
What age is it for?
Kids about 8 and up, with a grown-up for the scissors. Balloons contain latex and stuffing can be a choking hazard, so keep both away from toddlers and anyone with a latex allergy.
Next
Try a free paper squishy template, open the squishy maker, or dress up a printable paper doll. More paper fun: make a paper phone case insert with your own drawing.